
Selecting the Connection Method
You can select the method with which to connect RICOH Smart Device Connector and the device. This section explains the procedure to print with each connection method.

Enable Wi-Fi® settings on your smart device.
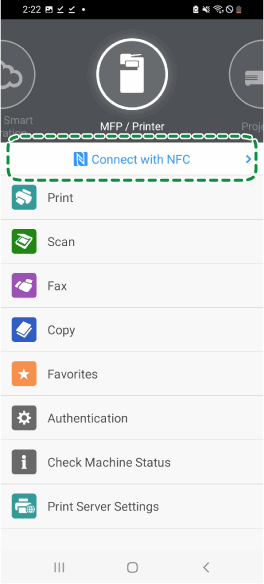
Horizontally swipe the RICOH Smart Device Connector menu and tap the area enclosed in the green frame.
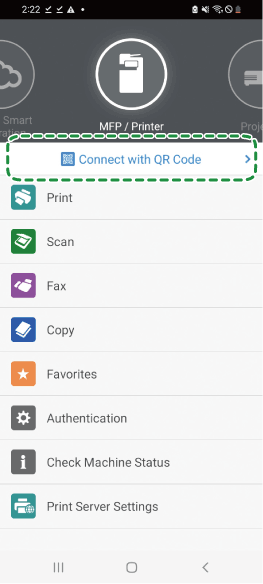
Select the connection method.
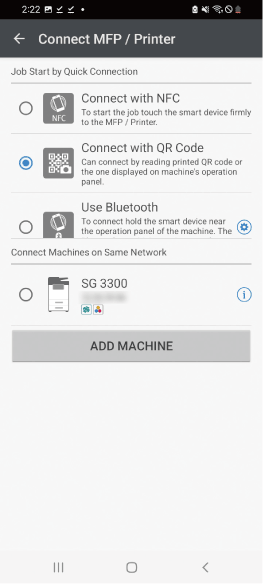
The following connection methods are available.NFC
QR code
Bluetooth
If any device has been registered, its name appears as a registered device.
For registering a device in advance, see Registering Devices.
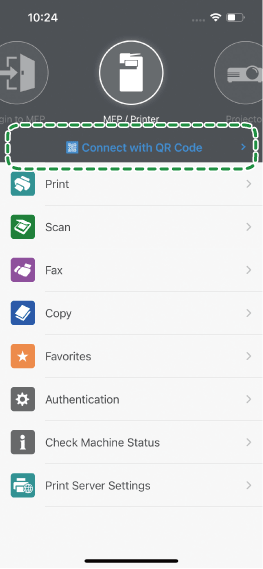
Check that [Connect with QR Code] appears.
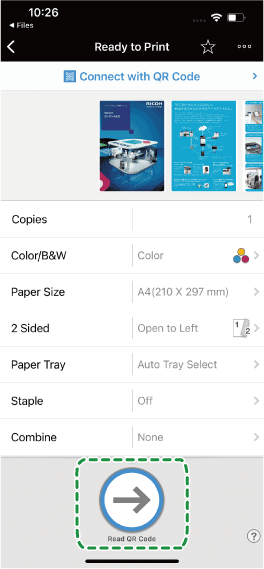
Select the data to print, and then specify the number of copies and other settings.
Tap [Read QR Code].
Tap [NEXT].
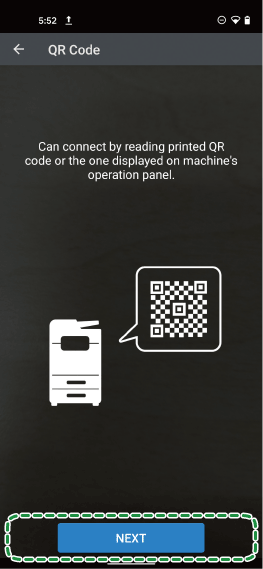
can the QR code of the printing device with the smart device.
If the scanning is successful, [Connecting...] appears and printing starts.
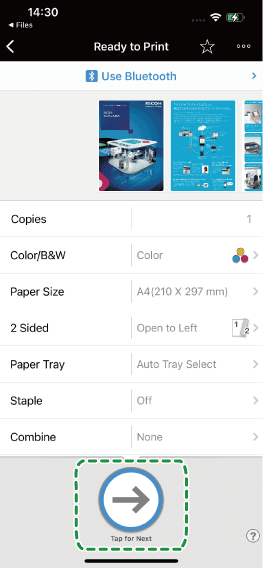
Check that [Use Bluetooth] appears.

Select the data to print, and then specify the number of copies and other settings.
Tap [Tap for Next].
Touch the printing device with the smart device.
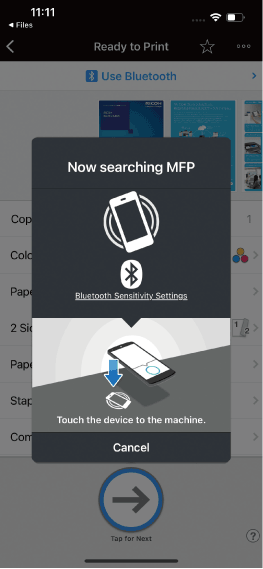
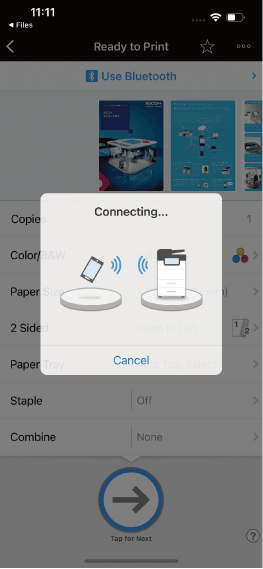
Touch the Bluetooth label affixed on the printing device.The message [Connecting...] appears and printing starts.
It may take a while for the message [Connecting...] to appear.
Check that [Connect with NFC] appears.
Select the data to print, and then specify the number of copies and other settings.
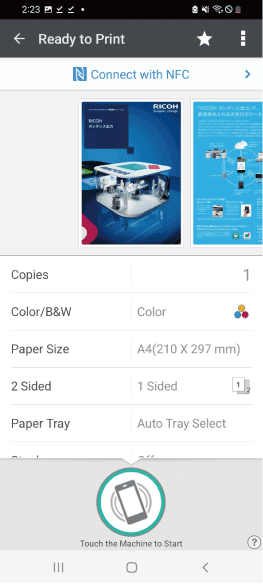
Touch the NFC tag affixed on the printing device with the smart device.
If [Connecting...] appears, remove the smart device from the device.If [Ready to read data.] appears, touch the NFC tag with the smart device again.
The message [Connecting...] appears and printing starts.
When registering and MFP/Printer, connect the machine and smart device to the same network before performing the following procedure.
Check that the printing device appears.
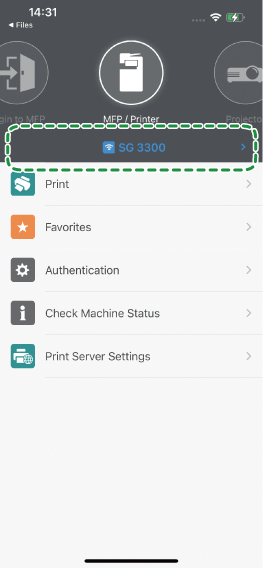
Select the data to print, and then specify the number of copies and other settings.
Tap [Start].

Printing starts.